Introduction
Adding Google analytics to a Next.js website seems complicated, but is not that difficult. To begin, make sure you have a Google Analytics account with your project set up.
Add The Tracking Code
Create a folder in your Next.js root directory called lib. Inside of here, create a file named gtag.js. Paste in the following
code:
export const GA_TRACKING_ID = 'G-XXXXXXXXXX'

// https://developers.google.com/analytics/devguides/collection/gtagjs/pages
export const pageview = (url) => {
    window.gtag('config', GA_TRACKING_ID, {
        page_path: url,
    })
}

// https://developers.google.com/analytics/devguides/collection/gtagjs/events
export const event = ({ action, category, label, value }) => {
    window.gtag('event', action, {
        event_category: category,
        event_label: label,
        value: value,
    })
}
Replace the 'G-XXXXXXXXXX' with your tracking id (This can be found in the Google Analytics admin pannel for your website).
Add GTAG To Document.js
Next, open up _document.js. If you do not have this file created already, follow along with the docs and
and create a custom _document file for your site. Inside of here we will import our gtag and use it.
import { GA_TRACKING_ID } from '../lib/gtag'
// other imports

export default class MyDocument extends NextDocument {
    render() {
        return (
            <Html lang="en">

                {/* other code */}

            <Head>
                    {/* Global Site Tag (gtag.js) - Google Analytics */}
                    <script
                        async
                        src={`https://www.googletagmanager.com/gtag/js?id=${GA_TRACKING_ID}`}
                    />
                    <script
                        dangerouslySetInnerHTML={{
                            __html: `
            window.dataLayer = window.dataLayer || [];
            function gtag(){dataLayer.push(arguments);}
            gtag('js', new Date());
            gtag('config', '${GA_TRACKING_ID}', {
              page_path: window.location.pathname,
            });
          `,
                        }}
                    />
            </Head>

            {/* Other code */}

        </Html>
        )
    }
}
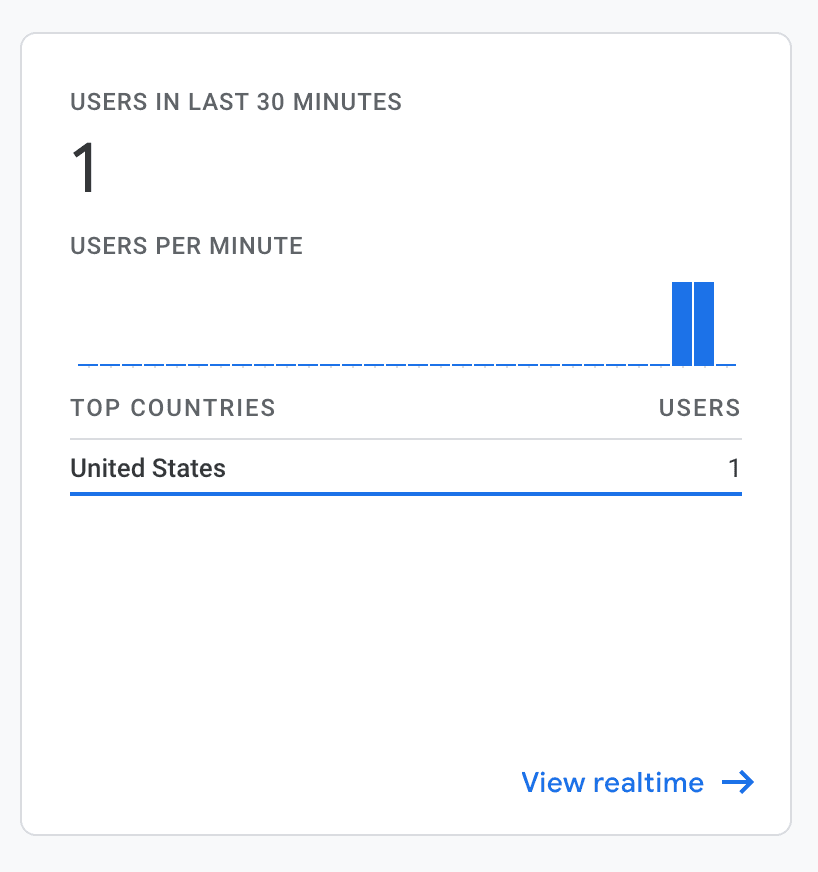
That's it! Once you deploy to Vercel (or another hosting service of your choice) you should see analytics coming through after 5 minutes or so.


