What Is React Native?
React Native is a JavaScript framework for building cross platform mobile apps. It allows you to create native apps for Android and iOS using React.
For the website: React Native combines the best parts of native development with React, a best-in-class JavaScript library for building user interfaces.
Learn once, write anywhere.
In this tutorial, I’ll show you how to quickly set up a React Native project and run your app on your actual device!
Expo
In this tutorial, we will be using Expo with React Native. Expo acts as a container around the React Native framework that allows us to develop applications more quickly and easily compared to if we were using bare bones React Native. The first thing we need to do is install the Expo CLI command line utility. Open your terminal and run the following command:
npm install -g expo-cli
Now we can create a new React Native project. I will call my project ExampleProject but you can call it whatever you like.
expo init ExampleProject
Expo will prompt you with the following message:

For this tutorial, I will select blank but I encourage you to do some research and select the best option for your project.
Running Our React Native App On Expo
Believe it or not, our app is ready to be run! To start our app we must move into the folder which contains our app and then run the start command.
cd AwesomeProject
npm start
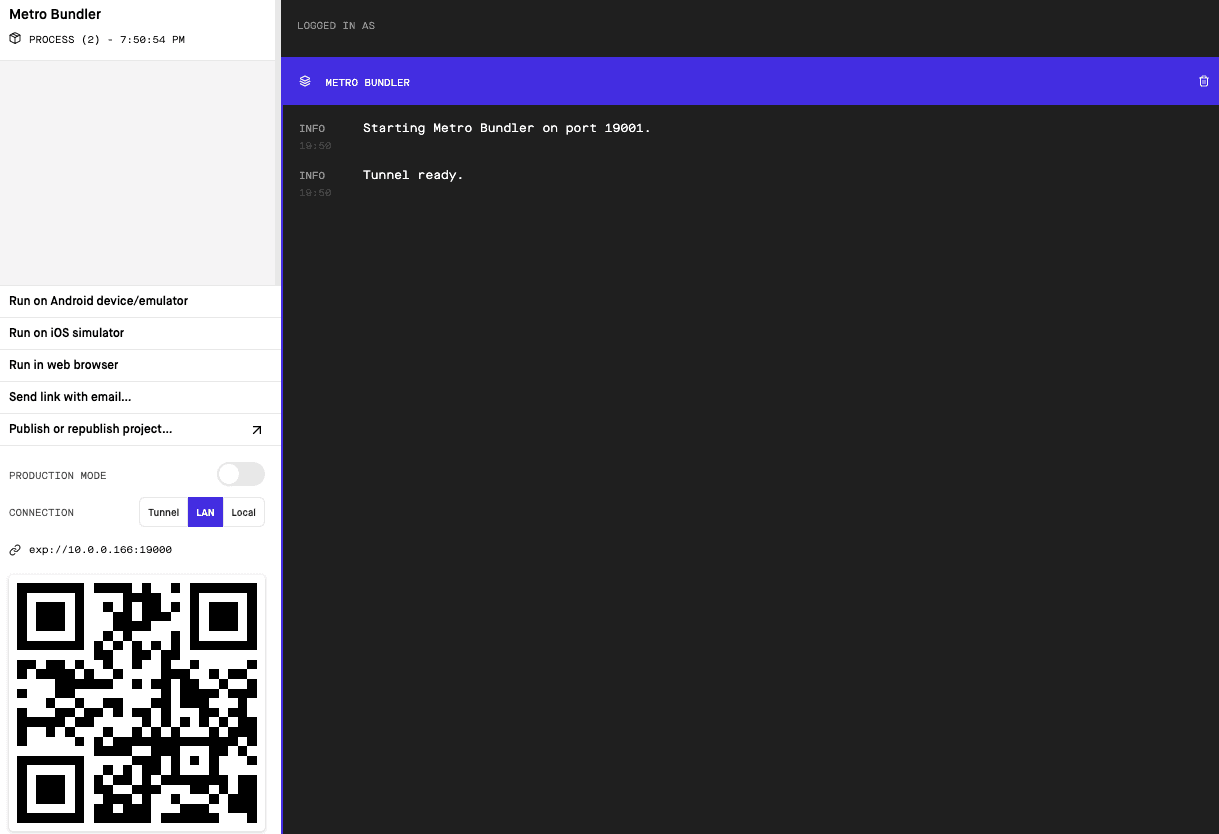
When you run ‘npm start’, a new browser window will open at your local host. You will notice a barcode in the lower left hand corner.

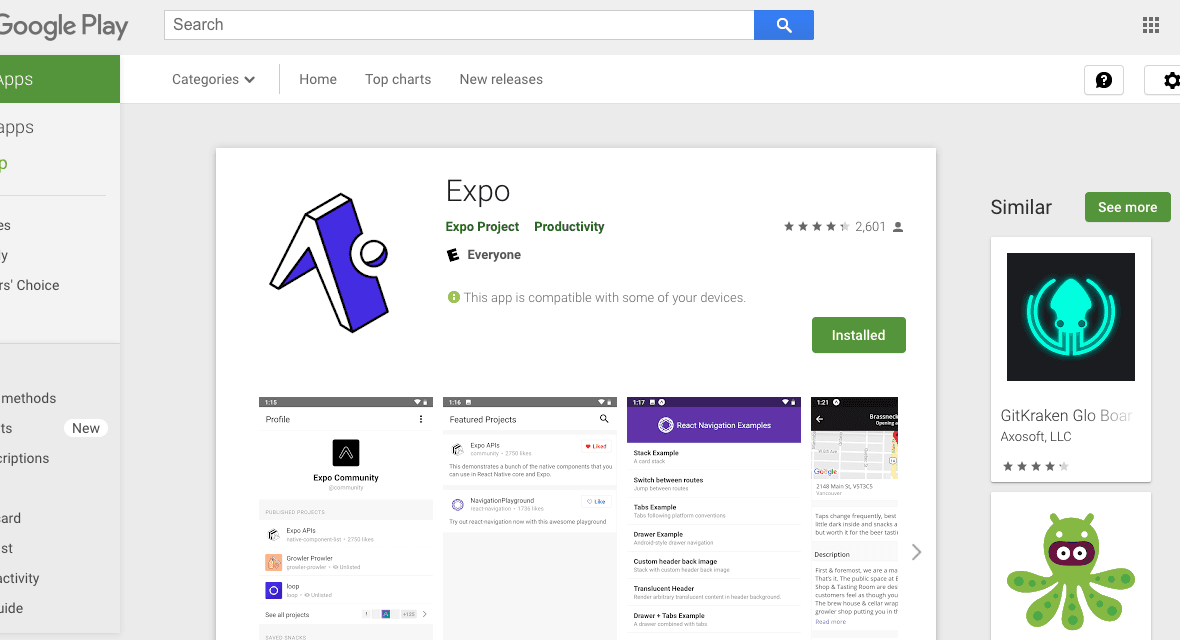
We can scan this barcode in the expo app to run our app on a device. Go to either the Apple App Store or the Google Play Store and search for ‘expo client’. See the image below.

Once you download and open the app, you will see an option to “Scan QR Code”. Tap this and scan your code. After the JavaScript loads, you should be able to see the app on your device. If you see “Open up App.js to start working on your app!” you have done it correctly.
